

Testing the APIs from the browser
The reference pages allow you to call the APIs directly from the browser. To get started:- Create a developer account on the Staging or Production consoles. Read more about the environments here.
- Create an API key from the
API keystab on the console, with the permissions required for the APIs you want to use. - From the page of your API of choice, insert the right API key in the authorization slot, introduce the different parameters, and call “Send”.
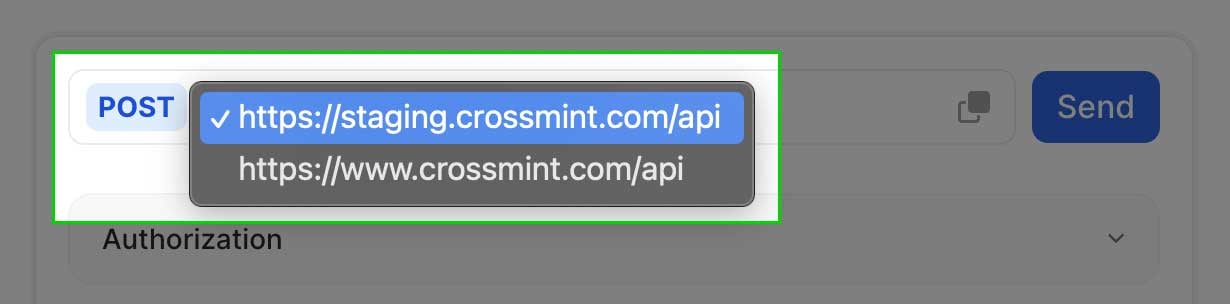
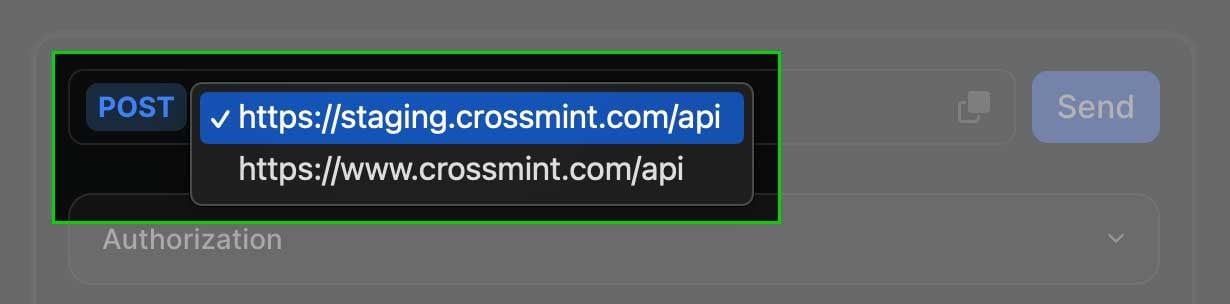
- (Optional) To call APIs in the production environment, find the API endpoint selector (
⌄) next to the endpoint URL, and change it towww.crossmint.com/api.
wallets.create, and nfts.create.
1. Creating Wallets from the API Reference
1. Creating Wallets from the API Reference
Navigate to the Create Wallet page
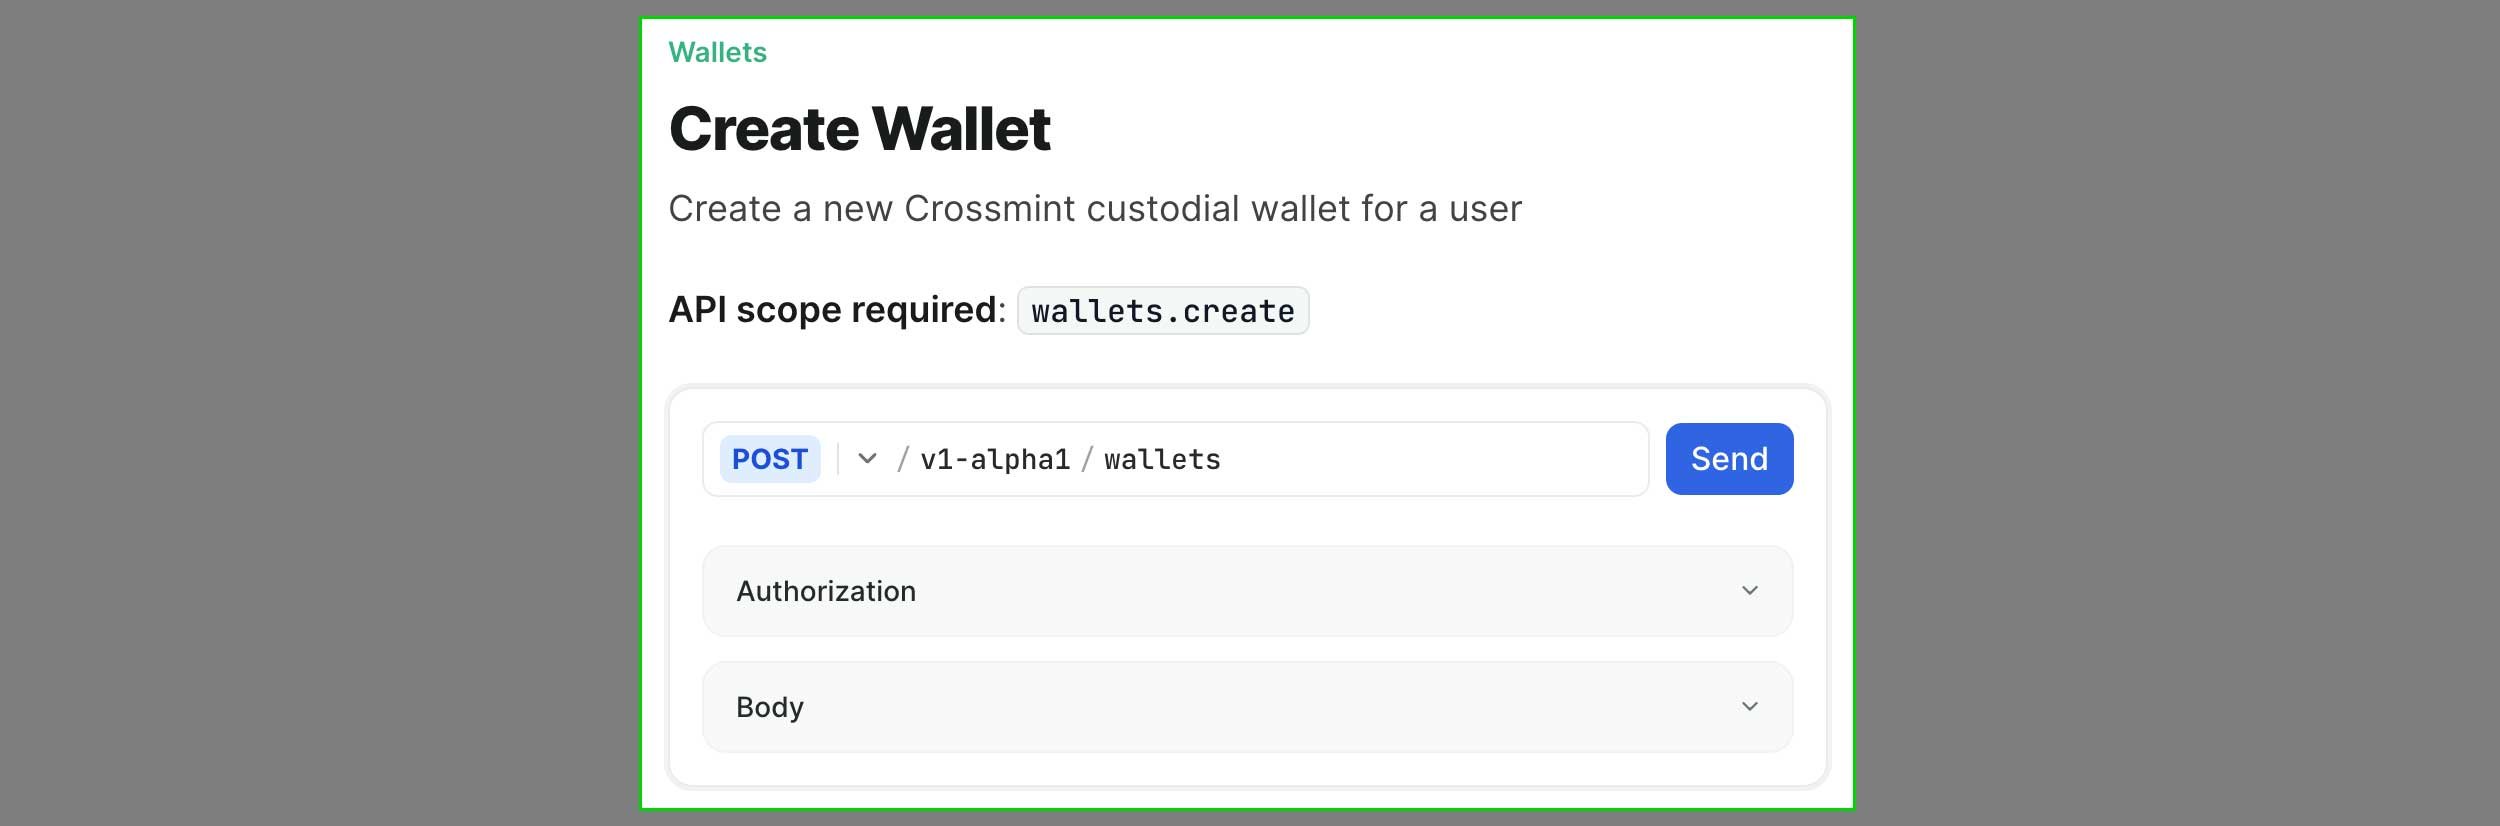
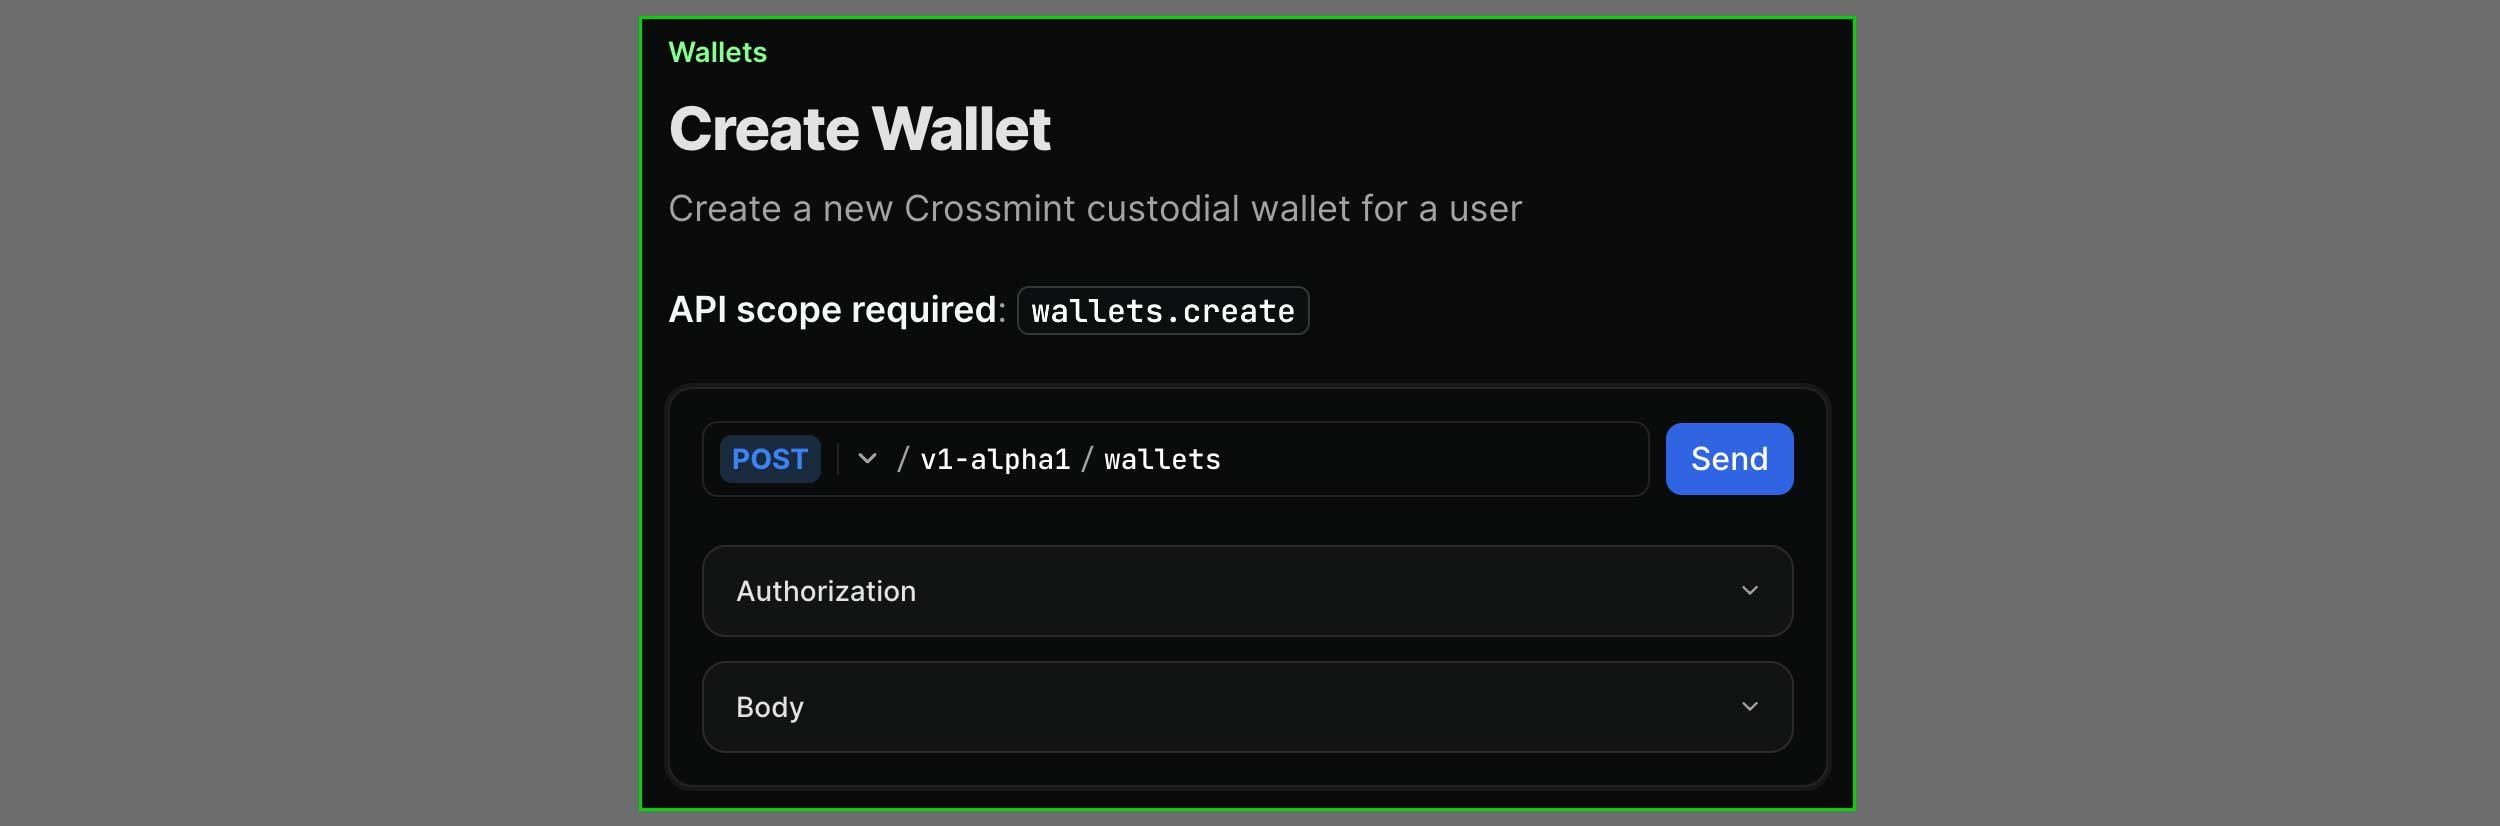
Select the correct environment for the API key you created
Input your API key into the Authorization section
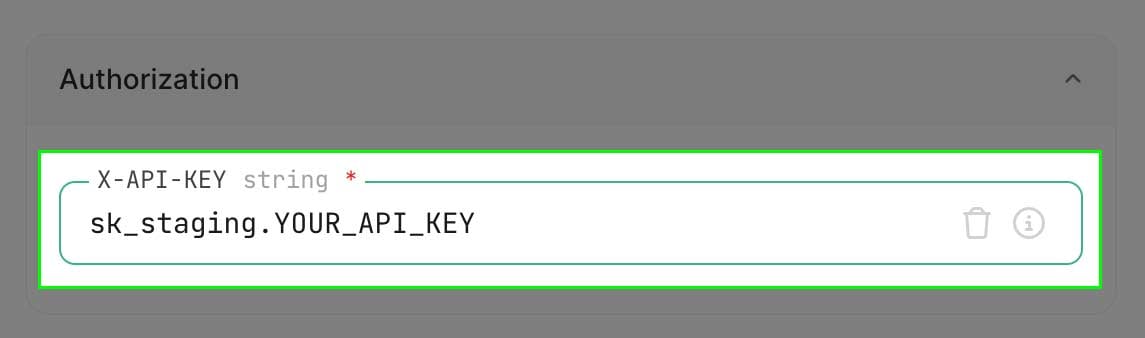
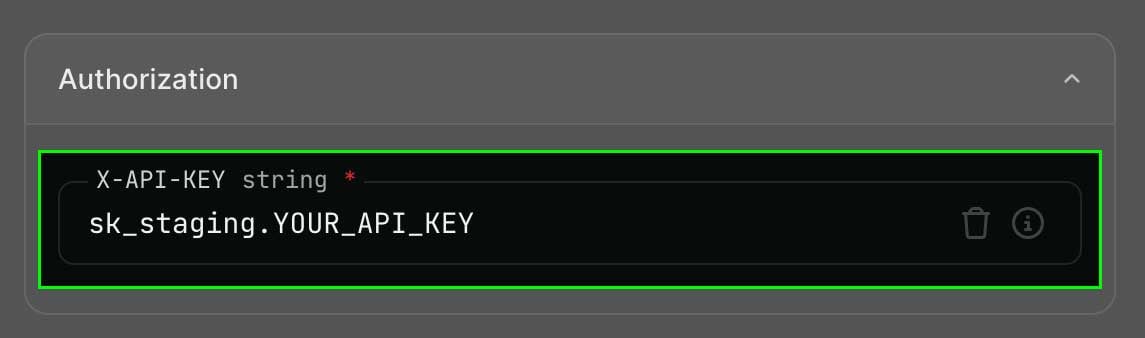
Input the body parameters
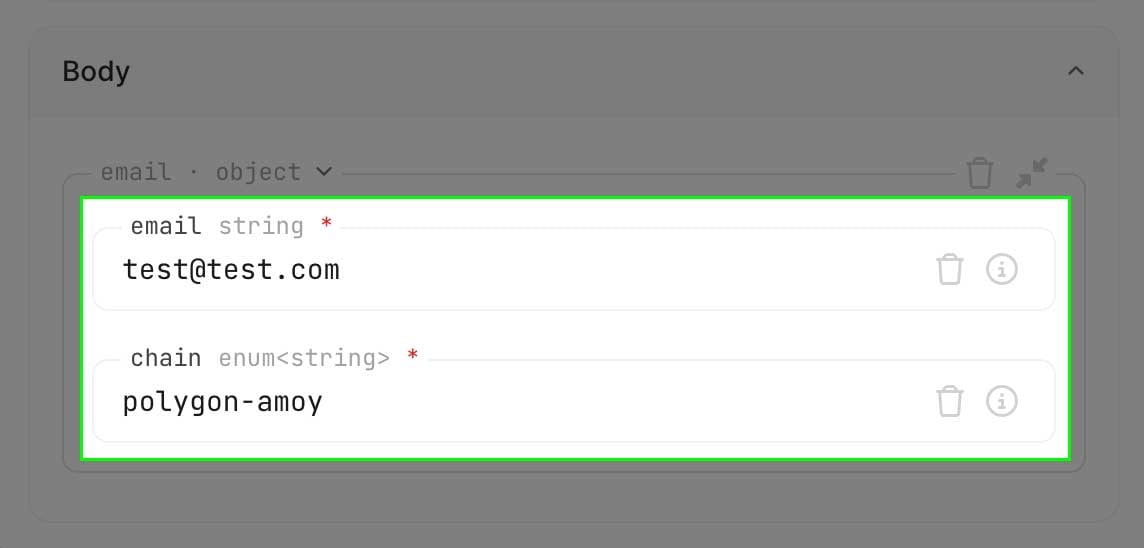
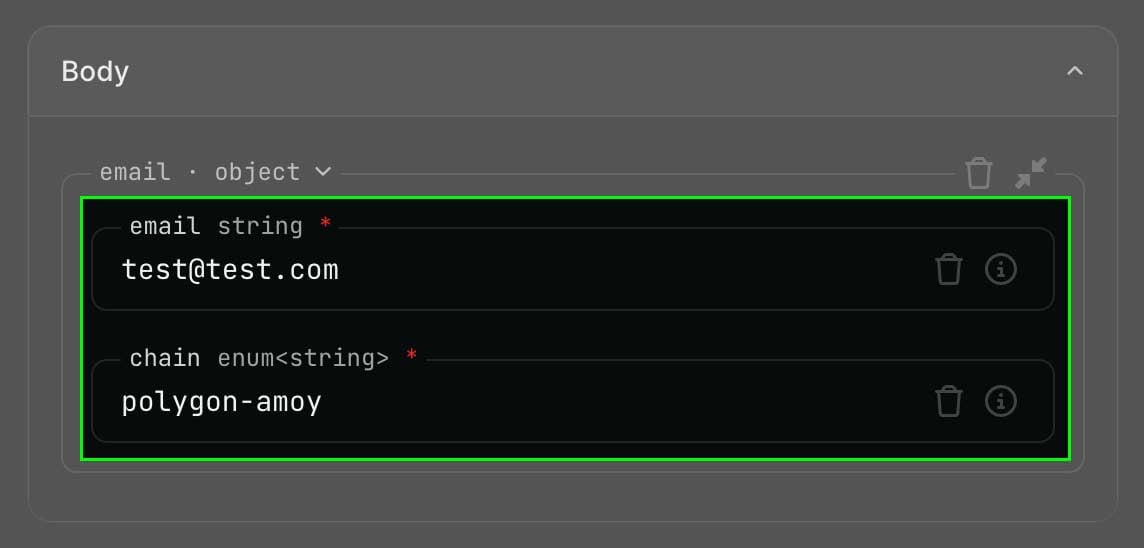
Send the request
Send button to trigger
the API call.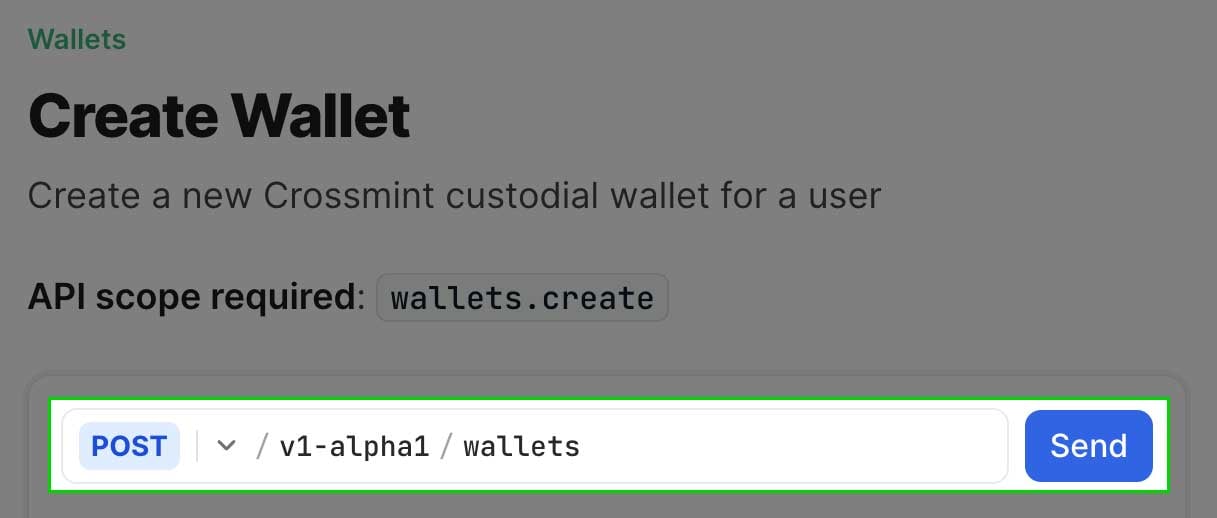
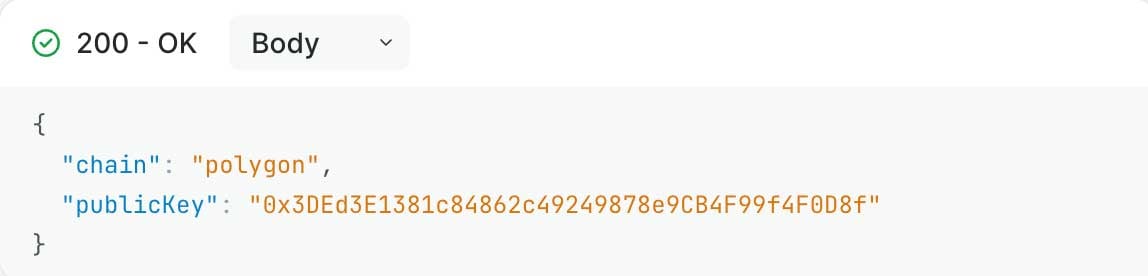
2. Mint NFTs from the API Reference
2. Mint NFTs from the API Reference
Navigate to the Mint NFT page
Open in a new tab here: /api-reference/minting/nfts/mint-nft
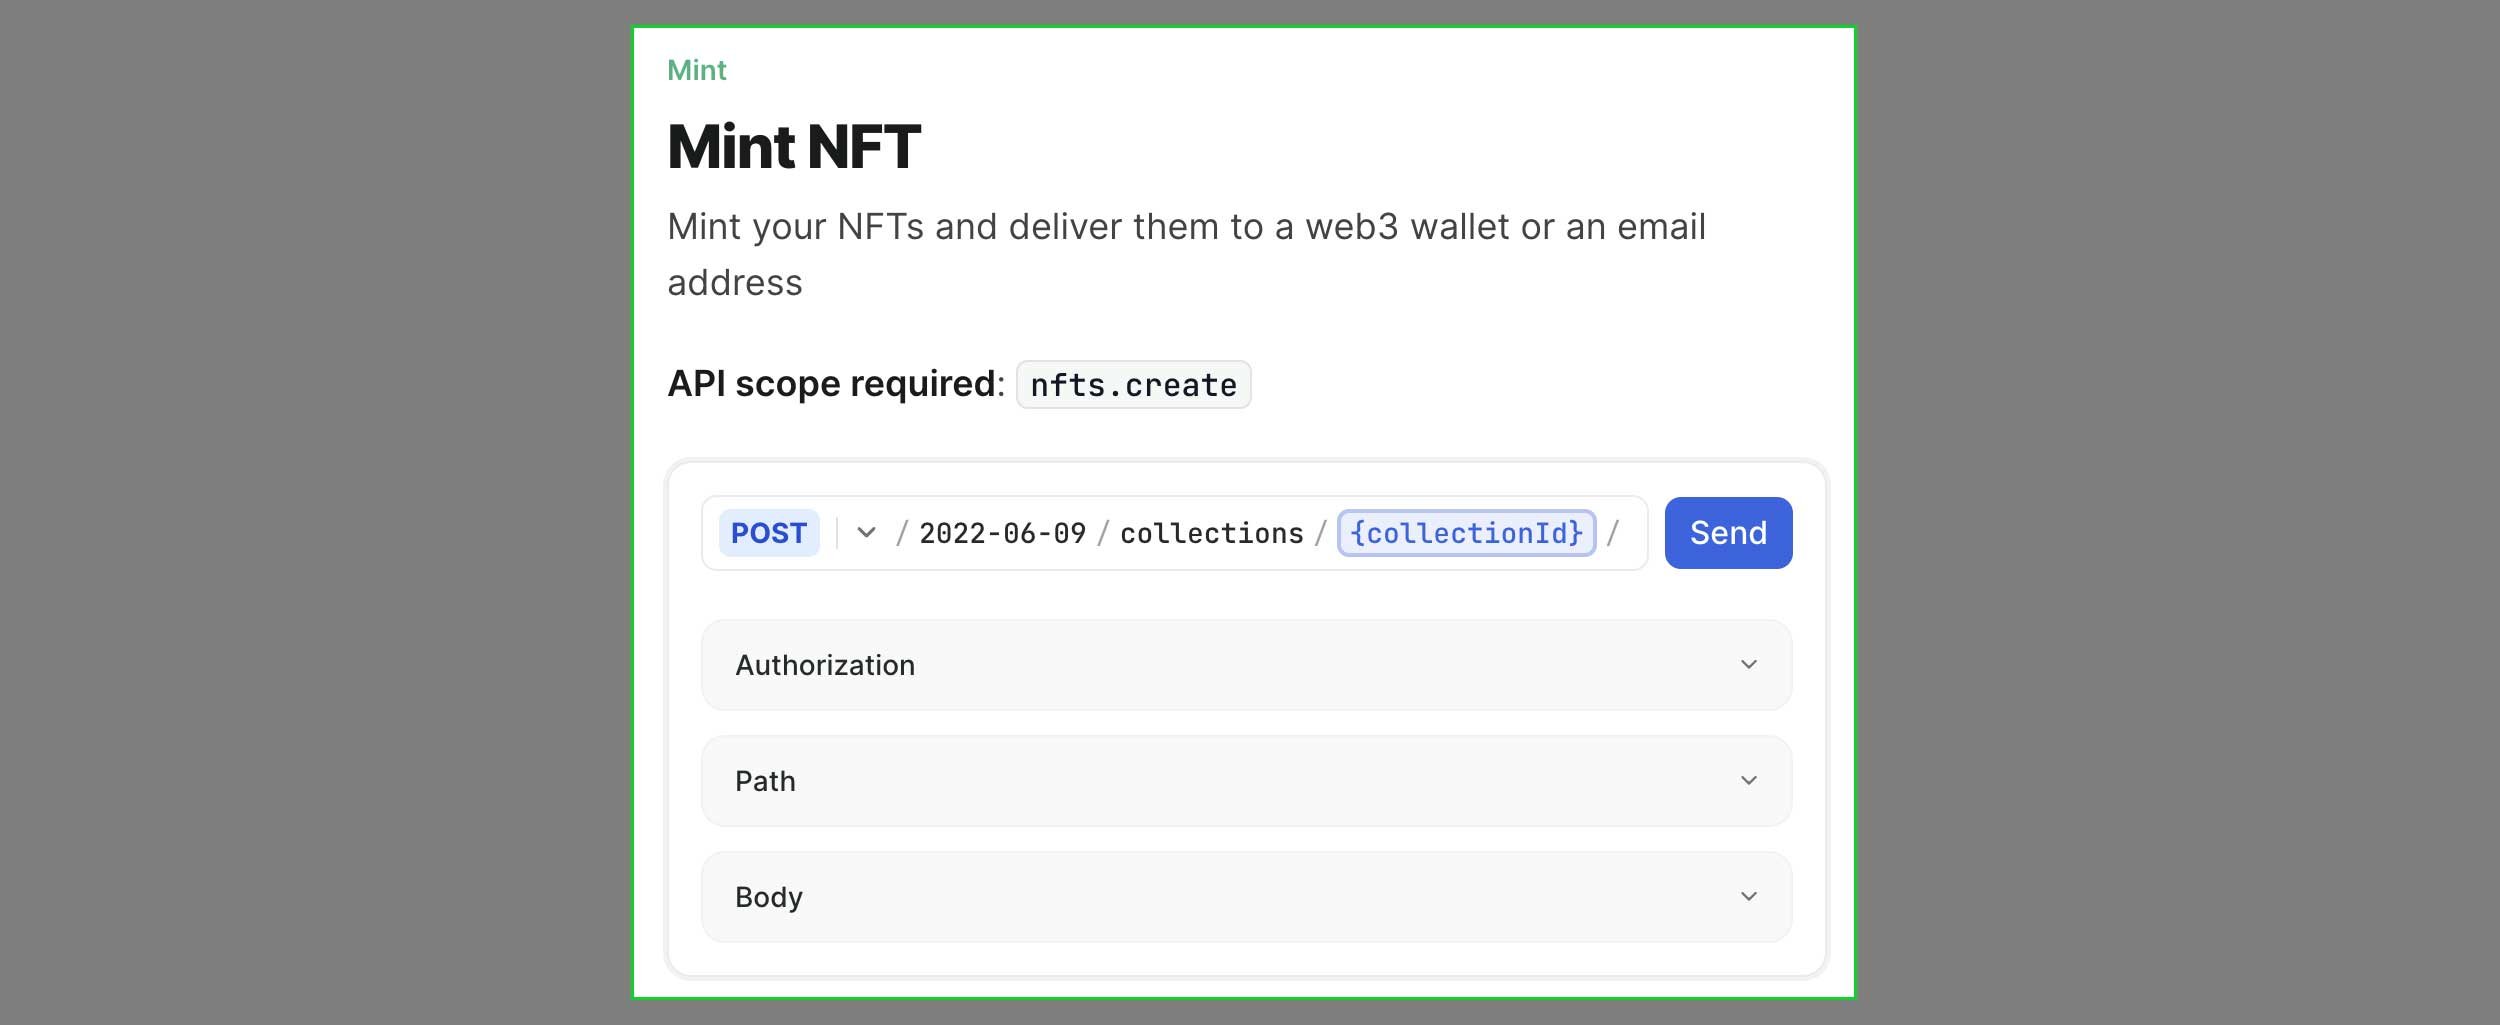
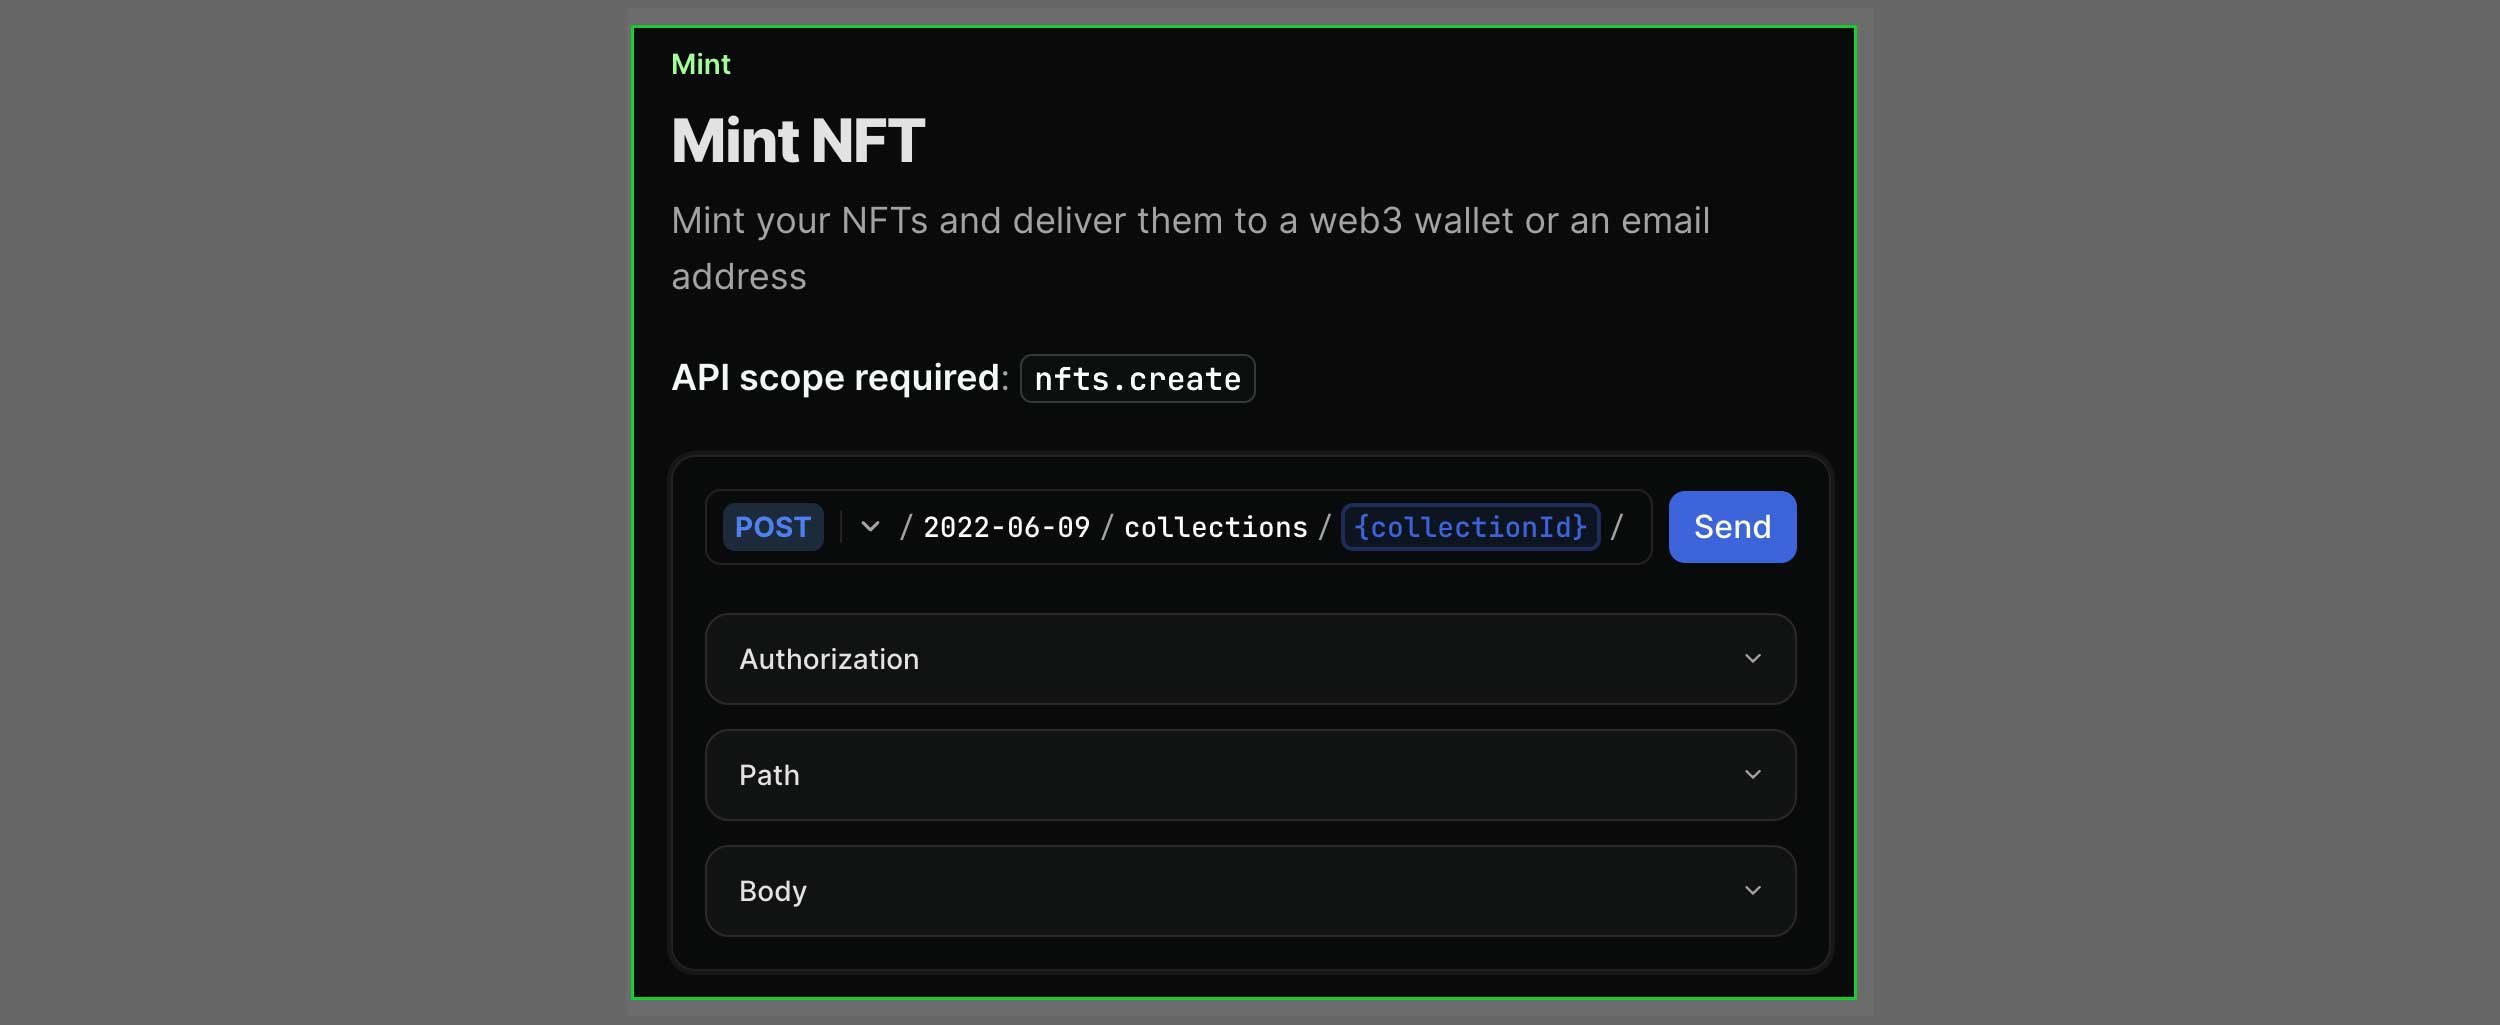
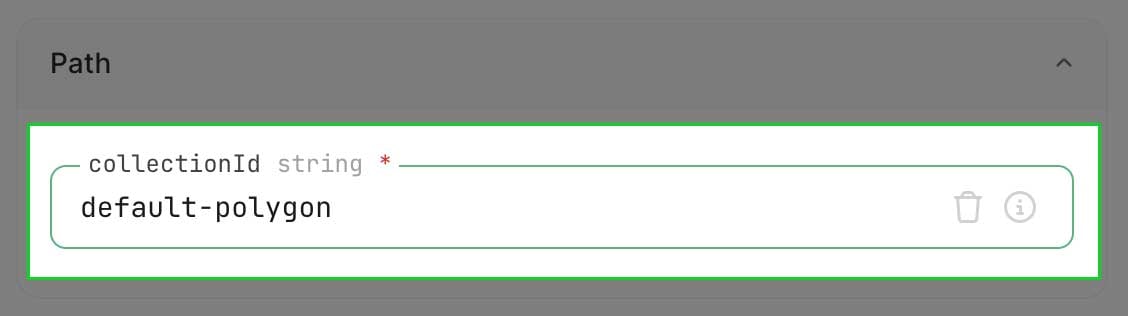
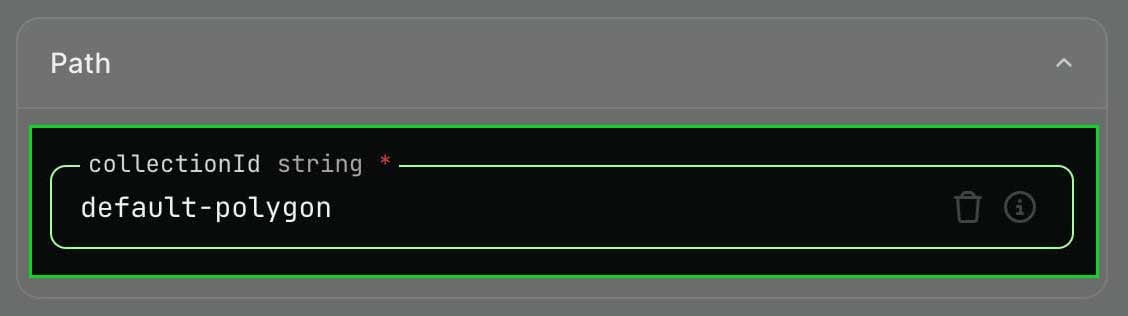
Enter the default-polygon collectionId
Select the [EVM] Metadata URL metadata option


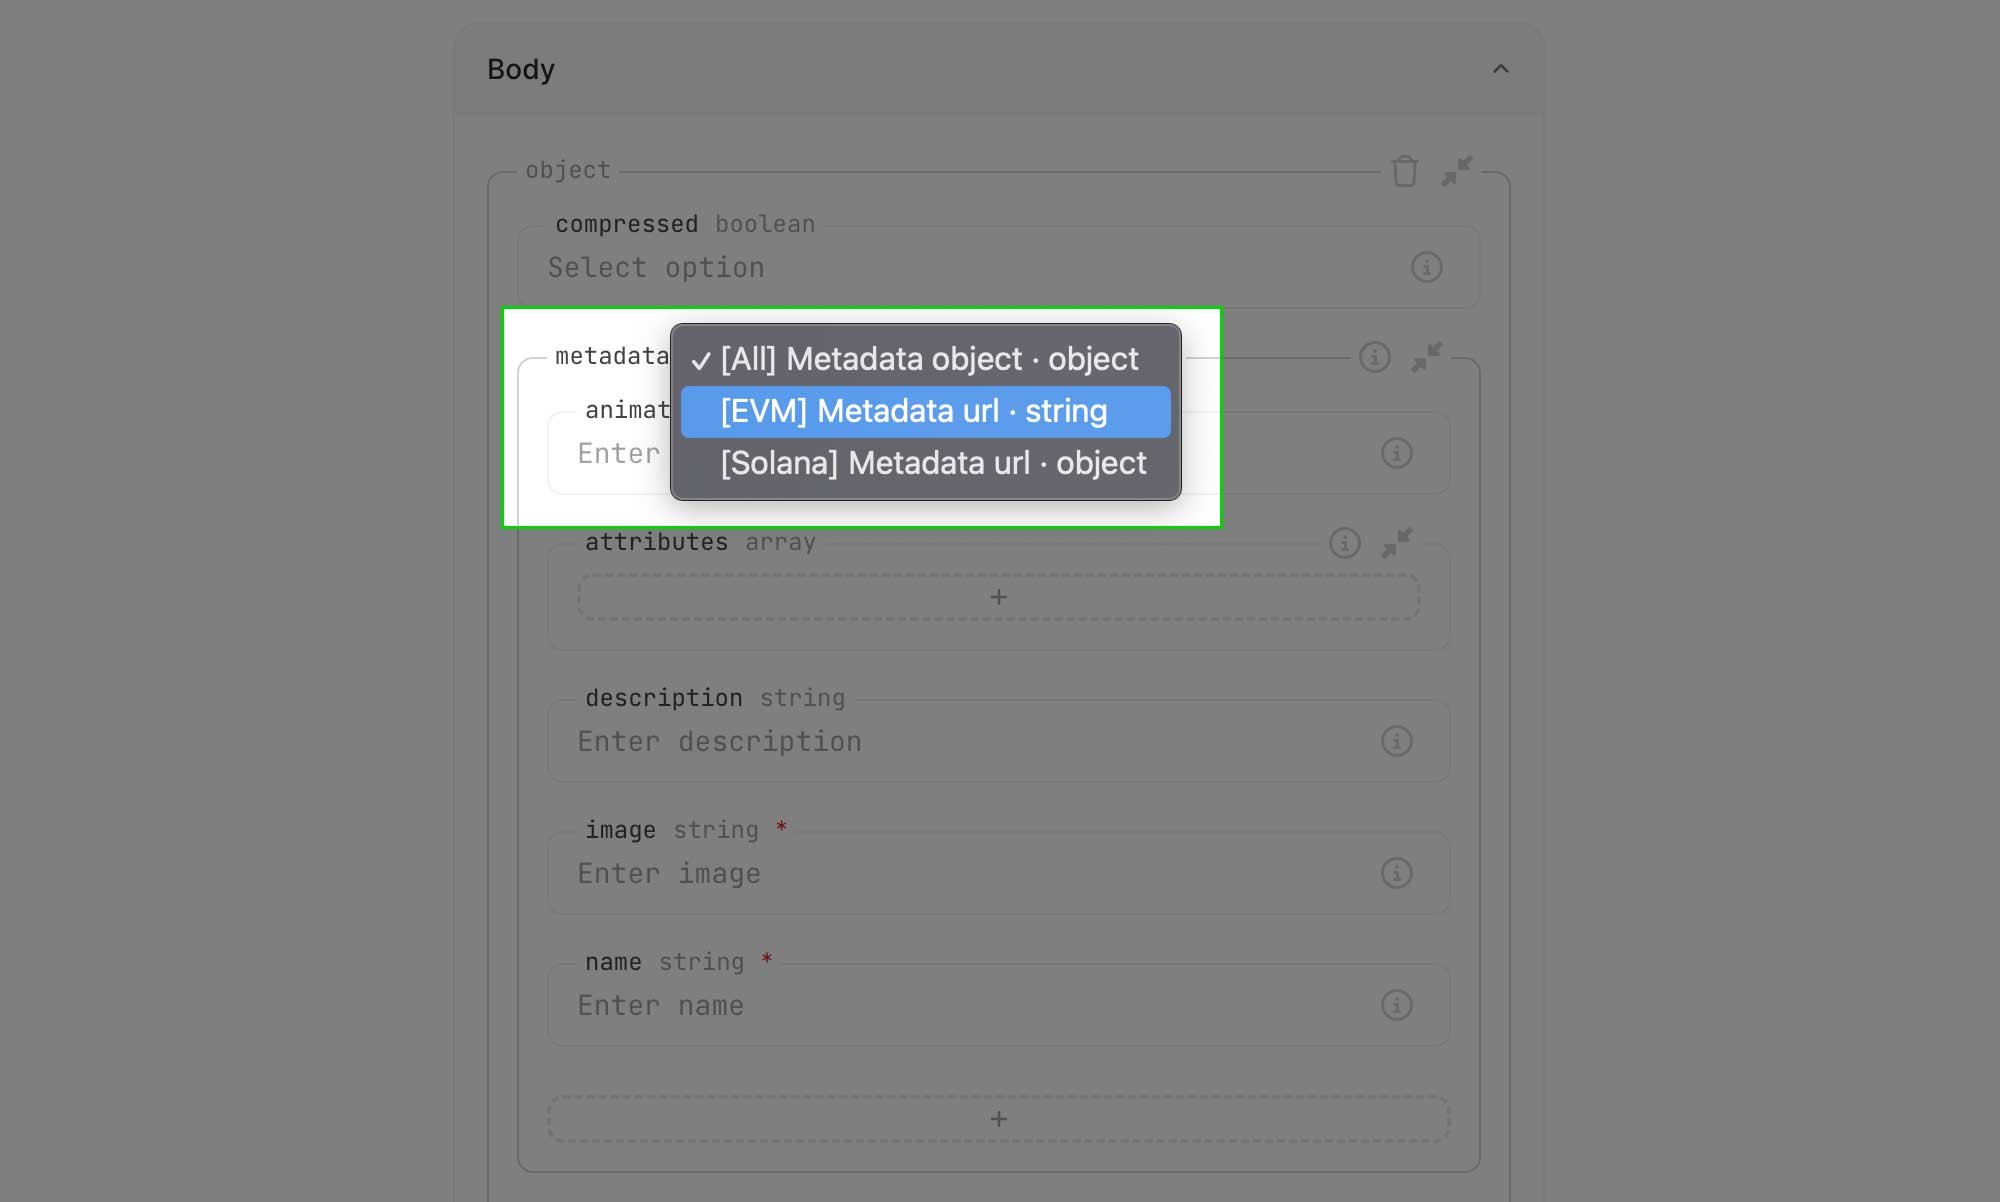
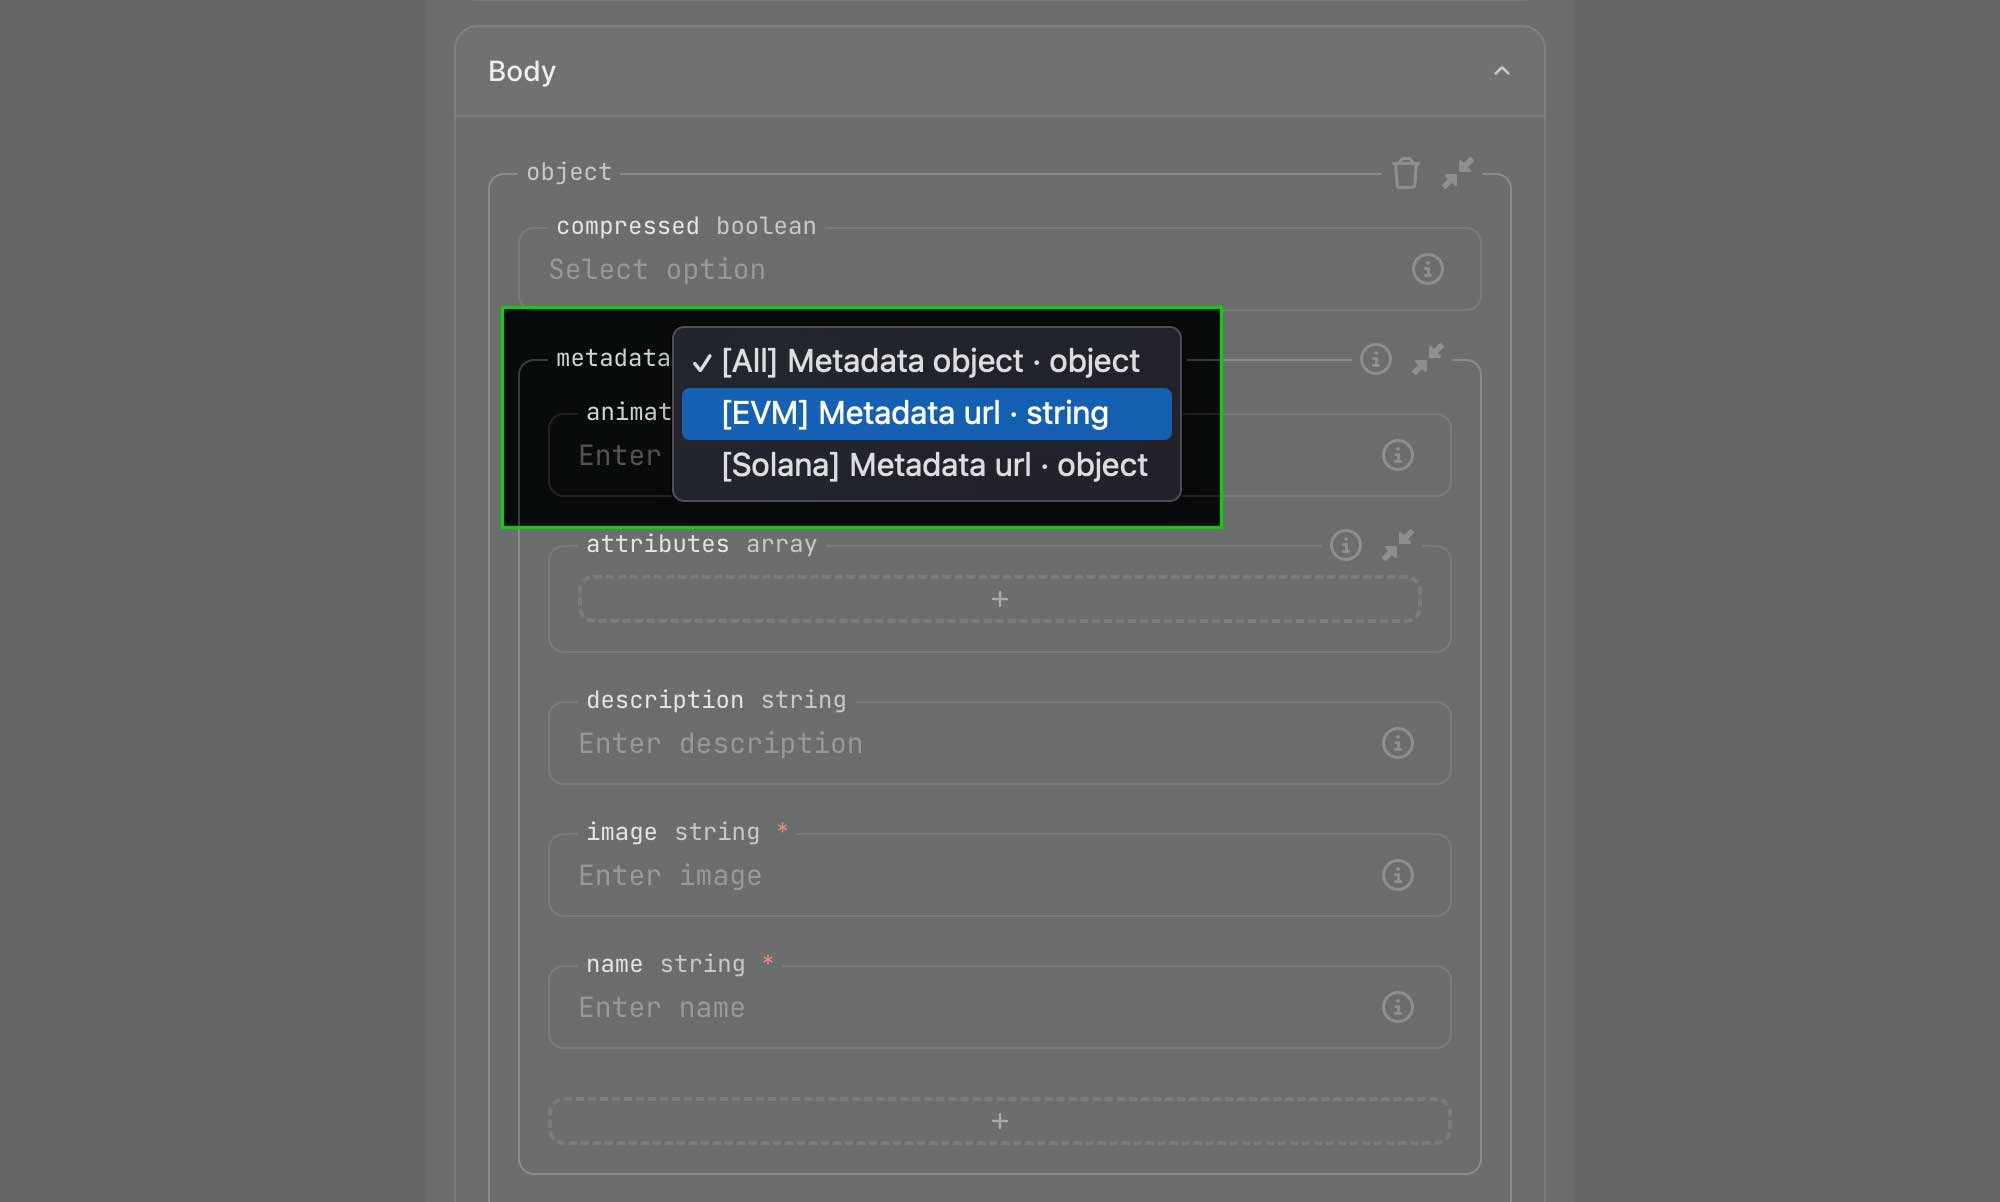
Enter metadata URL
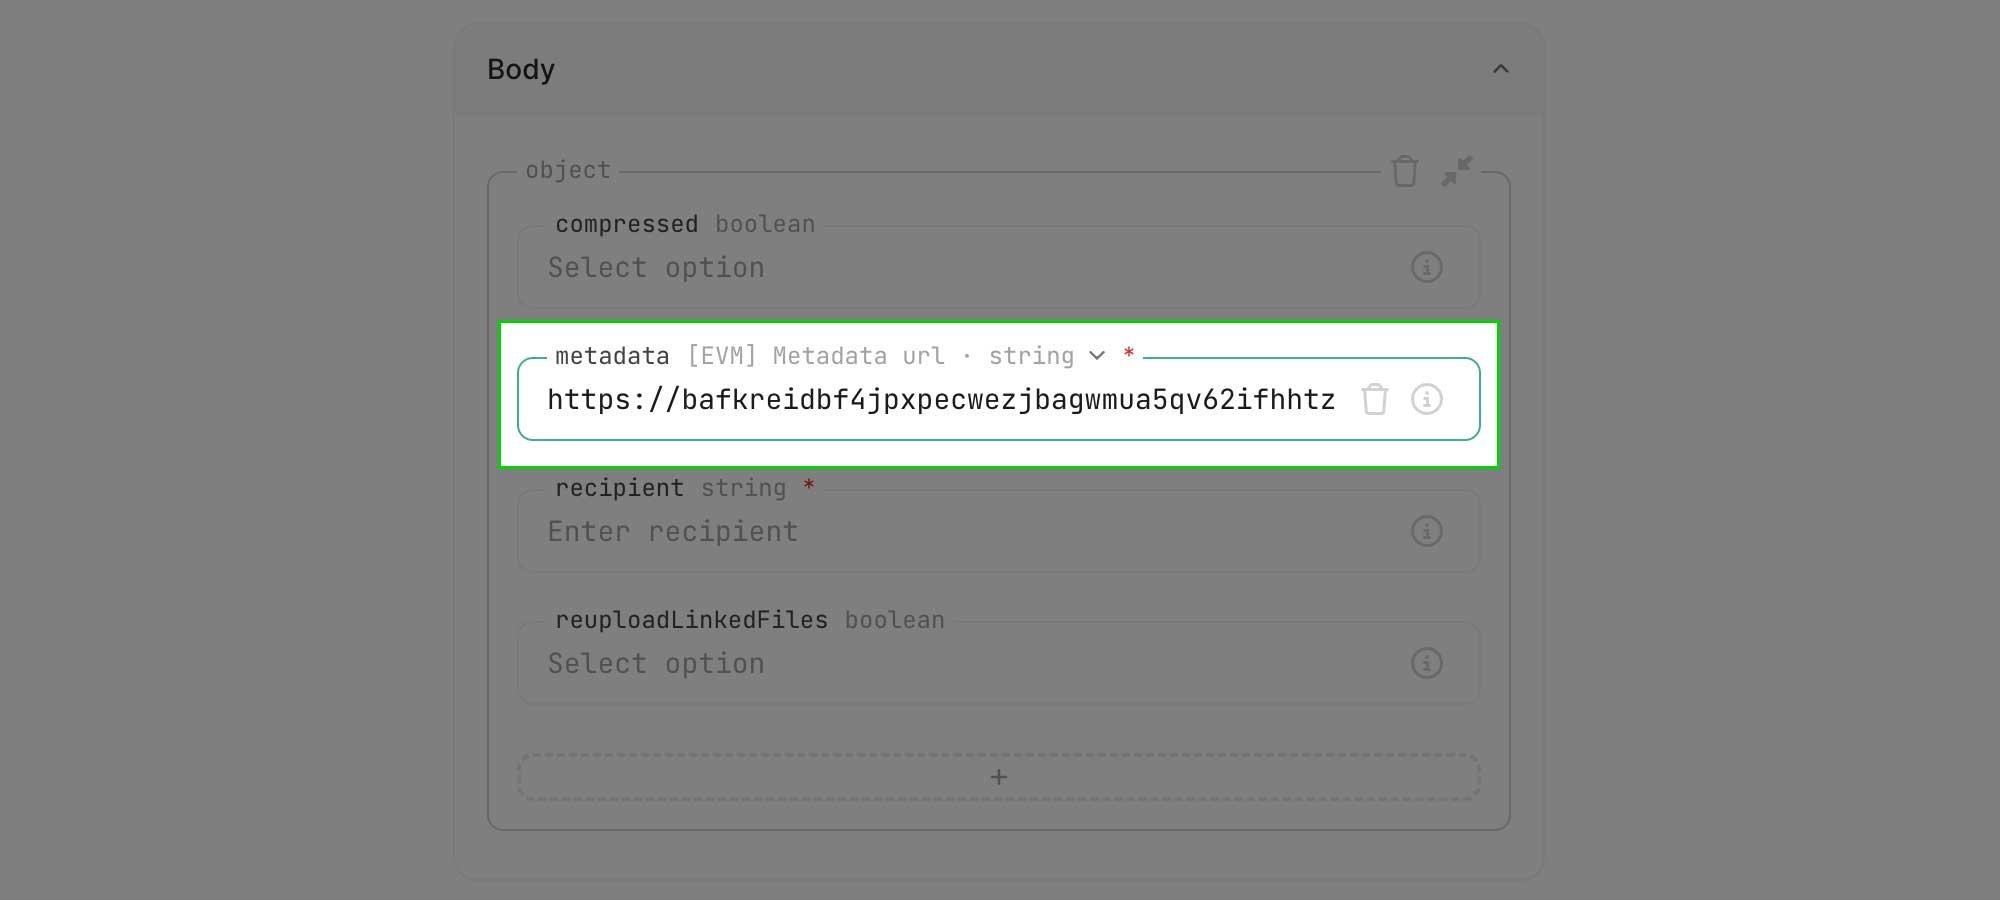
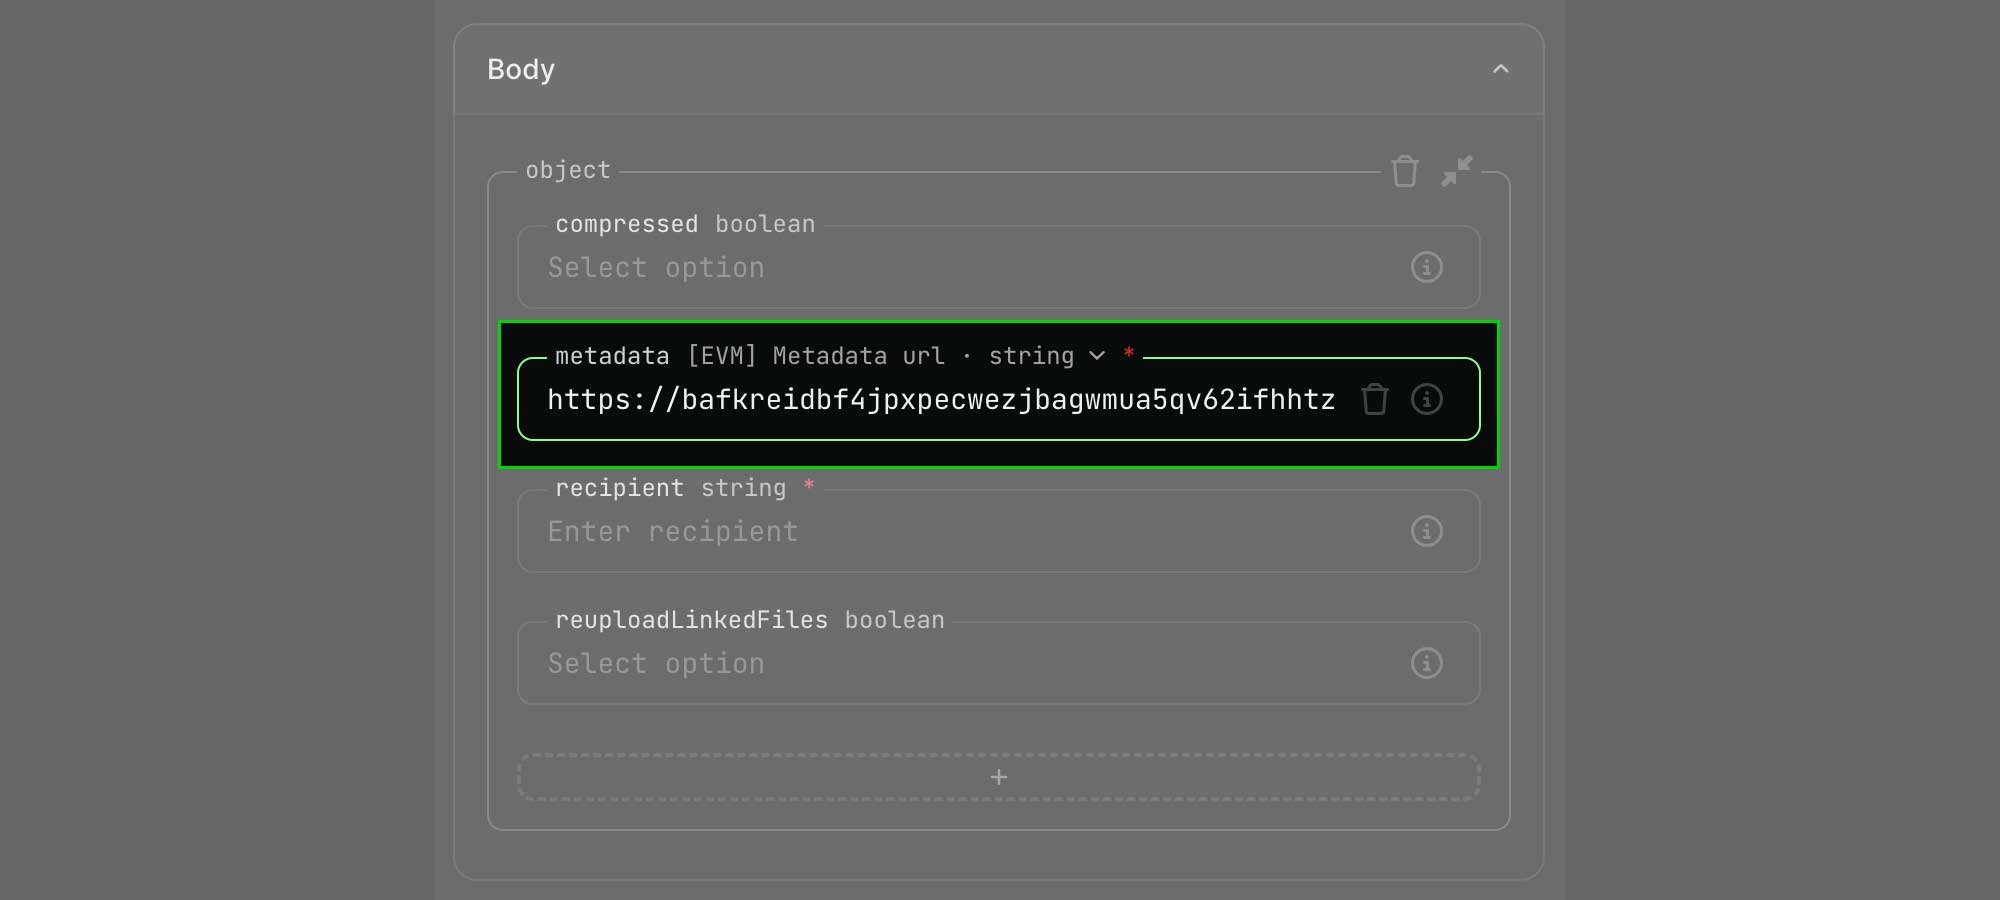
Enter the recipient
recipient parameter. The first enables minting to an email address. The second enables minting directly to a wallet address.

Set reuploadLinkedFiles to false
Crossmint has a 10MB re-upload size limit. For larger files, upload your media to IPFS, create a metadata.json as shown above, submit the metadata file’s URL, and ensure reuploadLinkedFiles is set to false.
The default option is true.


Send the request
Send button to trigger
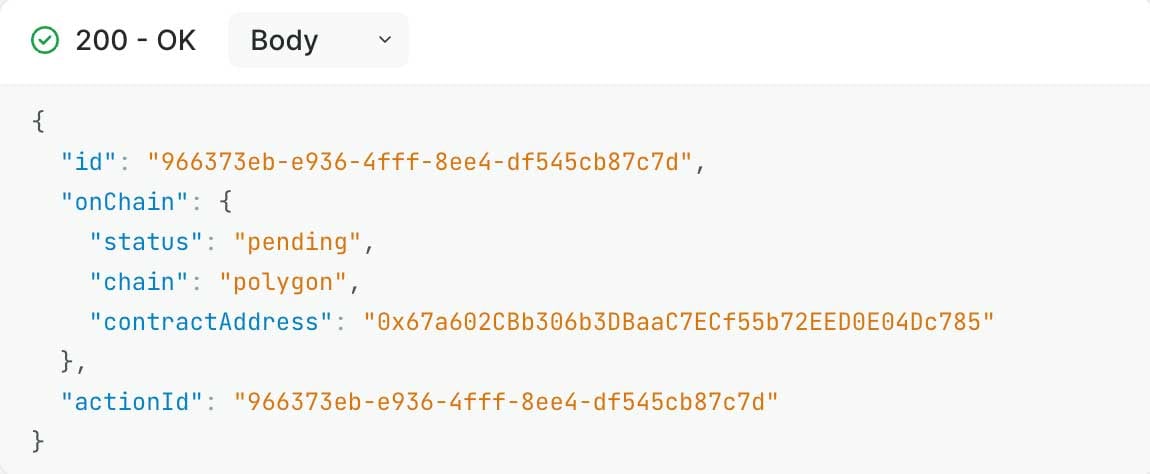
the API call.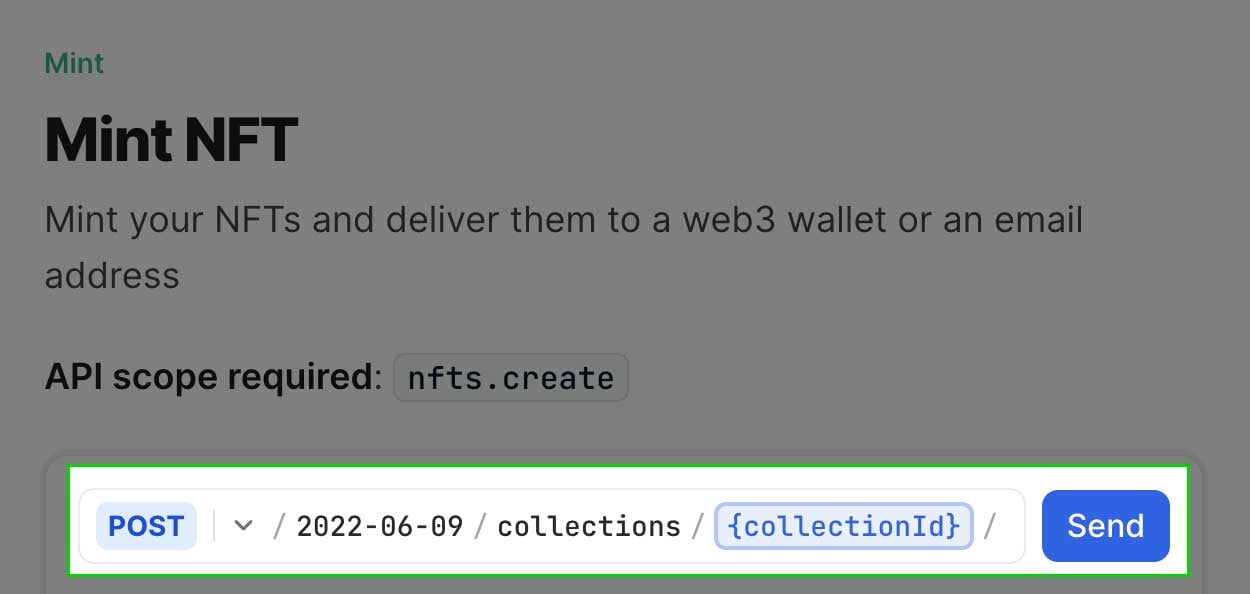
View the NFT in your wallet